

The Challenge


For our Baronial Birthday this past April 29th, we were to Research a ten-minute topic for A&S night and possibly make the item(s) to display at Baronial Birthday (Tir y Don, Atlantia). Documentation to be in EZ Doc format. Which can be found Here If you don’t know what that is:
chrome-extension://efaidnbmnnnibpcajpcglclefindmkaj/http://www.larsdatter.com/ezdoc/basic.pdf
My Declaration
We had a challenge issued, and Challenge Accepted! While the clothing looks fun, making a proper houppelande would take yards and yards of fabric that I just don’t have the money for. I decided to make a book, using as many of the tools as could be cobbled together for a bookbinding project within a zero-dollar budget. With what I already had in the house, I only needed to dig through my supplies and I could start.
Leather. Check
Tool kit. Check
Paper, and Papers; Check! I said it twice. No regrets! There’re two different types of paper for this project. There’s the parchment look and the marbled endpapers.
Let’s Go!
Creating and Binding a Medieval Book
Tools:
The tools for creating and binding a book can often be costly for the best of the best, but can also be gotten for far less by purchasing the very basics needed. My tools represent the very basics, many of which are hand-made to fit my needs and space. The basic tools for creating a book are: mallet, chisel, clamps, glue, x-acto blade/handle, sewing needles, thread, thread snips, bone folder, ruler, pen or pencil, stitching awl, and scissors. When it comes to sewing the pages into the book block you will need a sewing frame.
Stitching the Book Block
The pages of a book when sewn together are called a book block, and can be the very expensive hide parchment called vellum used in medieval books, or the inexpensive version from pressed paper. I chose 24 lb. Ivory Parchment pressed paper from southworth, due to the affordability, also it’s very pretty. Without a punching cradle for punching the stitching holes in the signatures, it is recommended to use a thick piece of foam or a well packed pillow, if only to protect a table’s surface. Not something really needed for a raw workbench, however, it is on the list of things to eventually acquire.
I already own a sewing stand that I made myself. It’s not pretty, but it works really well.


The Steps in making a book block
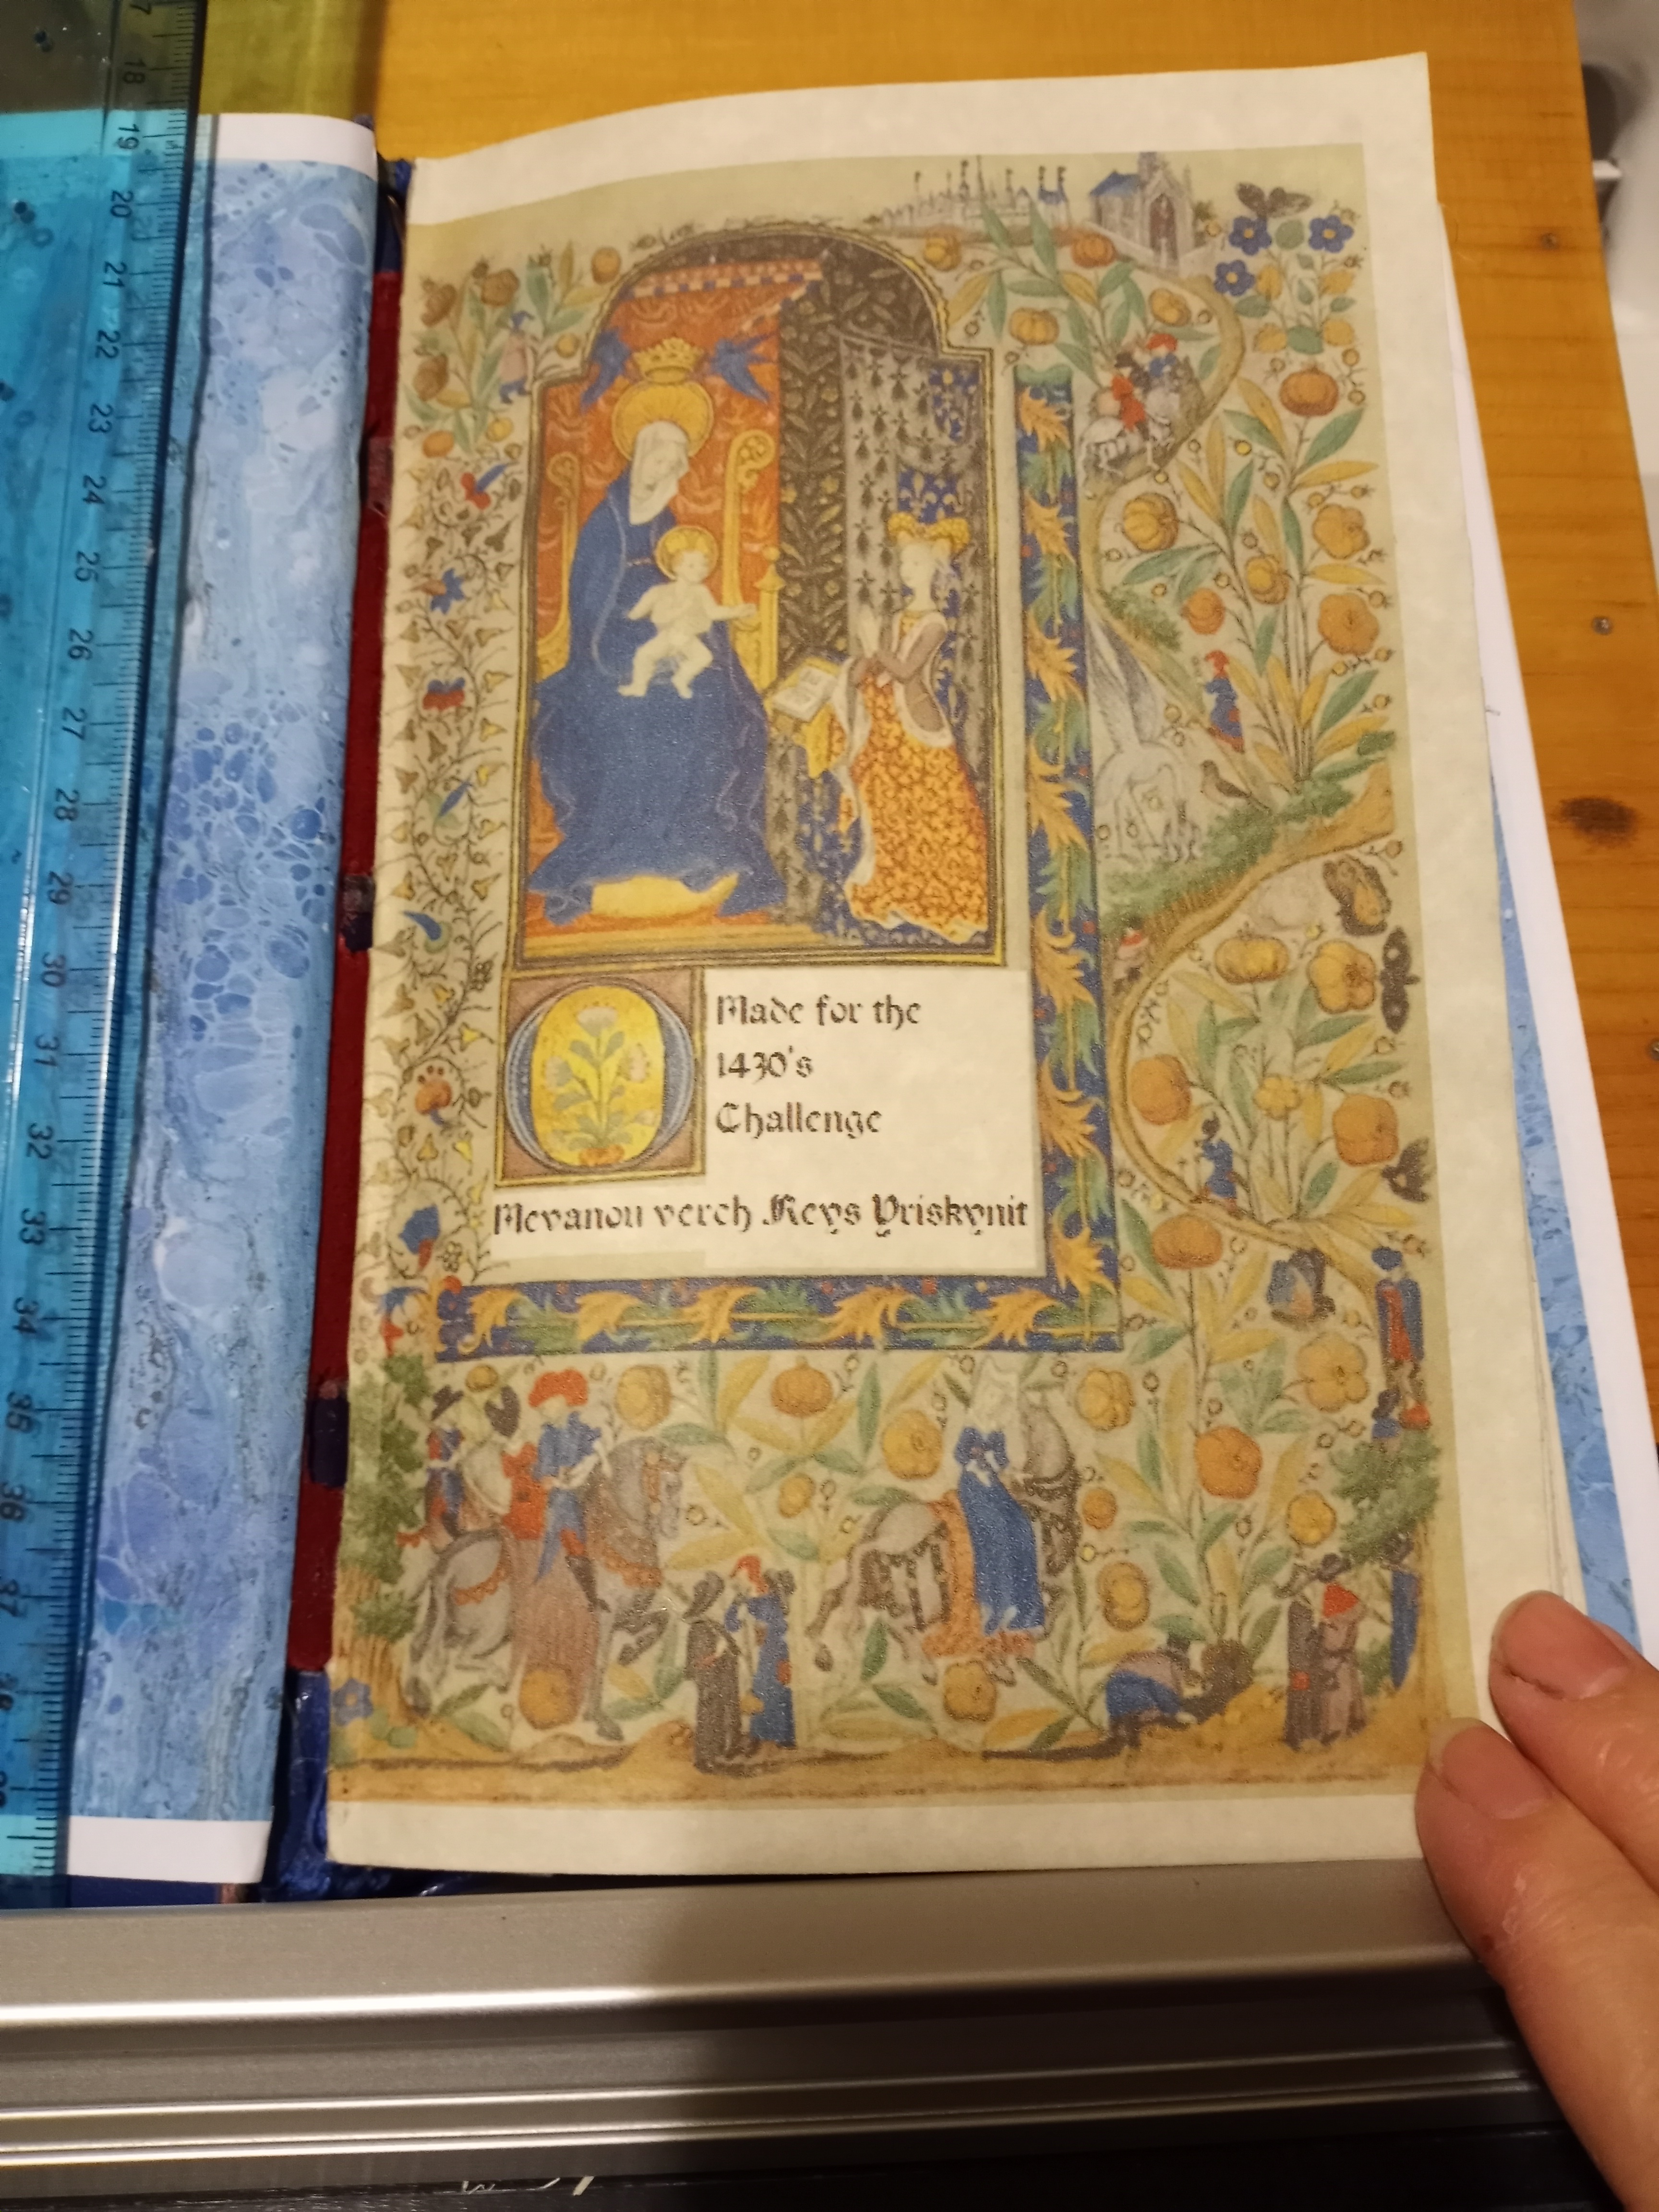
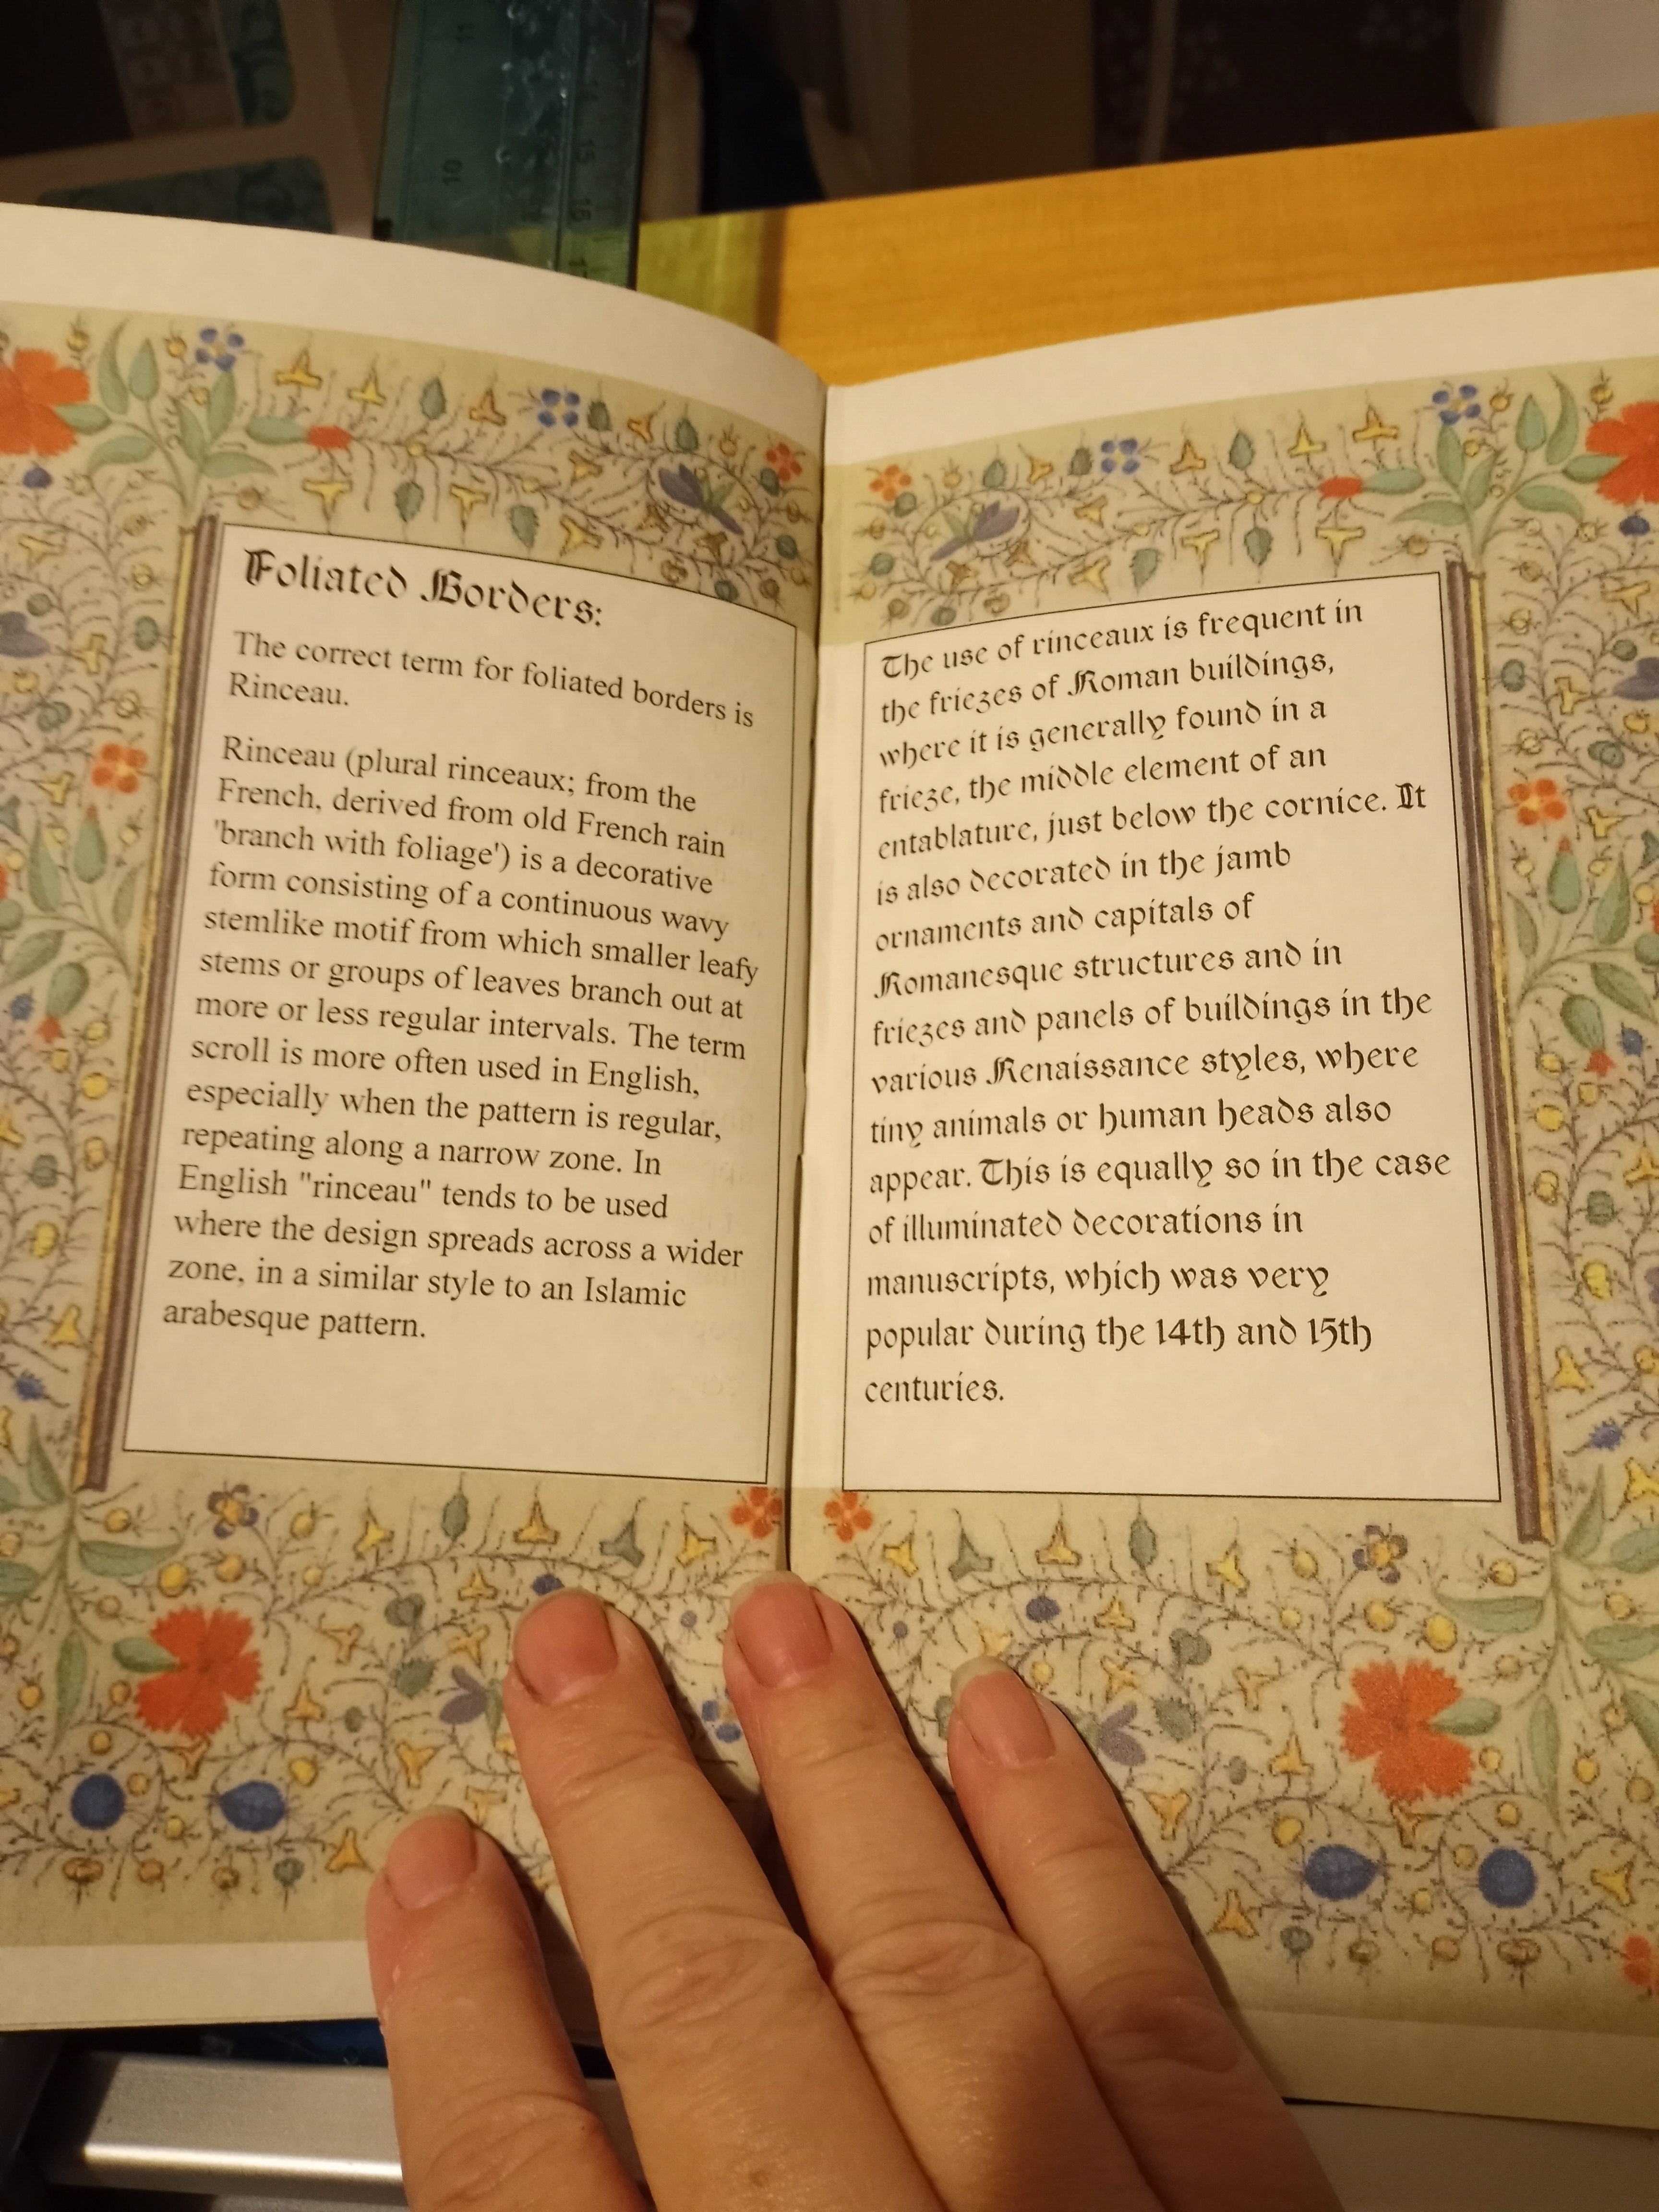
- Decided which images to use in the pages.
- Copied the images to paint and cleaned them of all original text.
- Opened a word file and started adding images in landscape with ¼ inch center border for stitching.
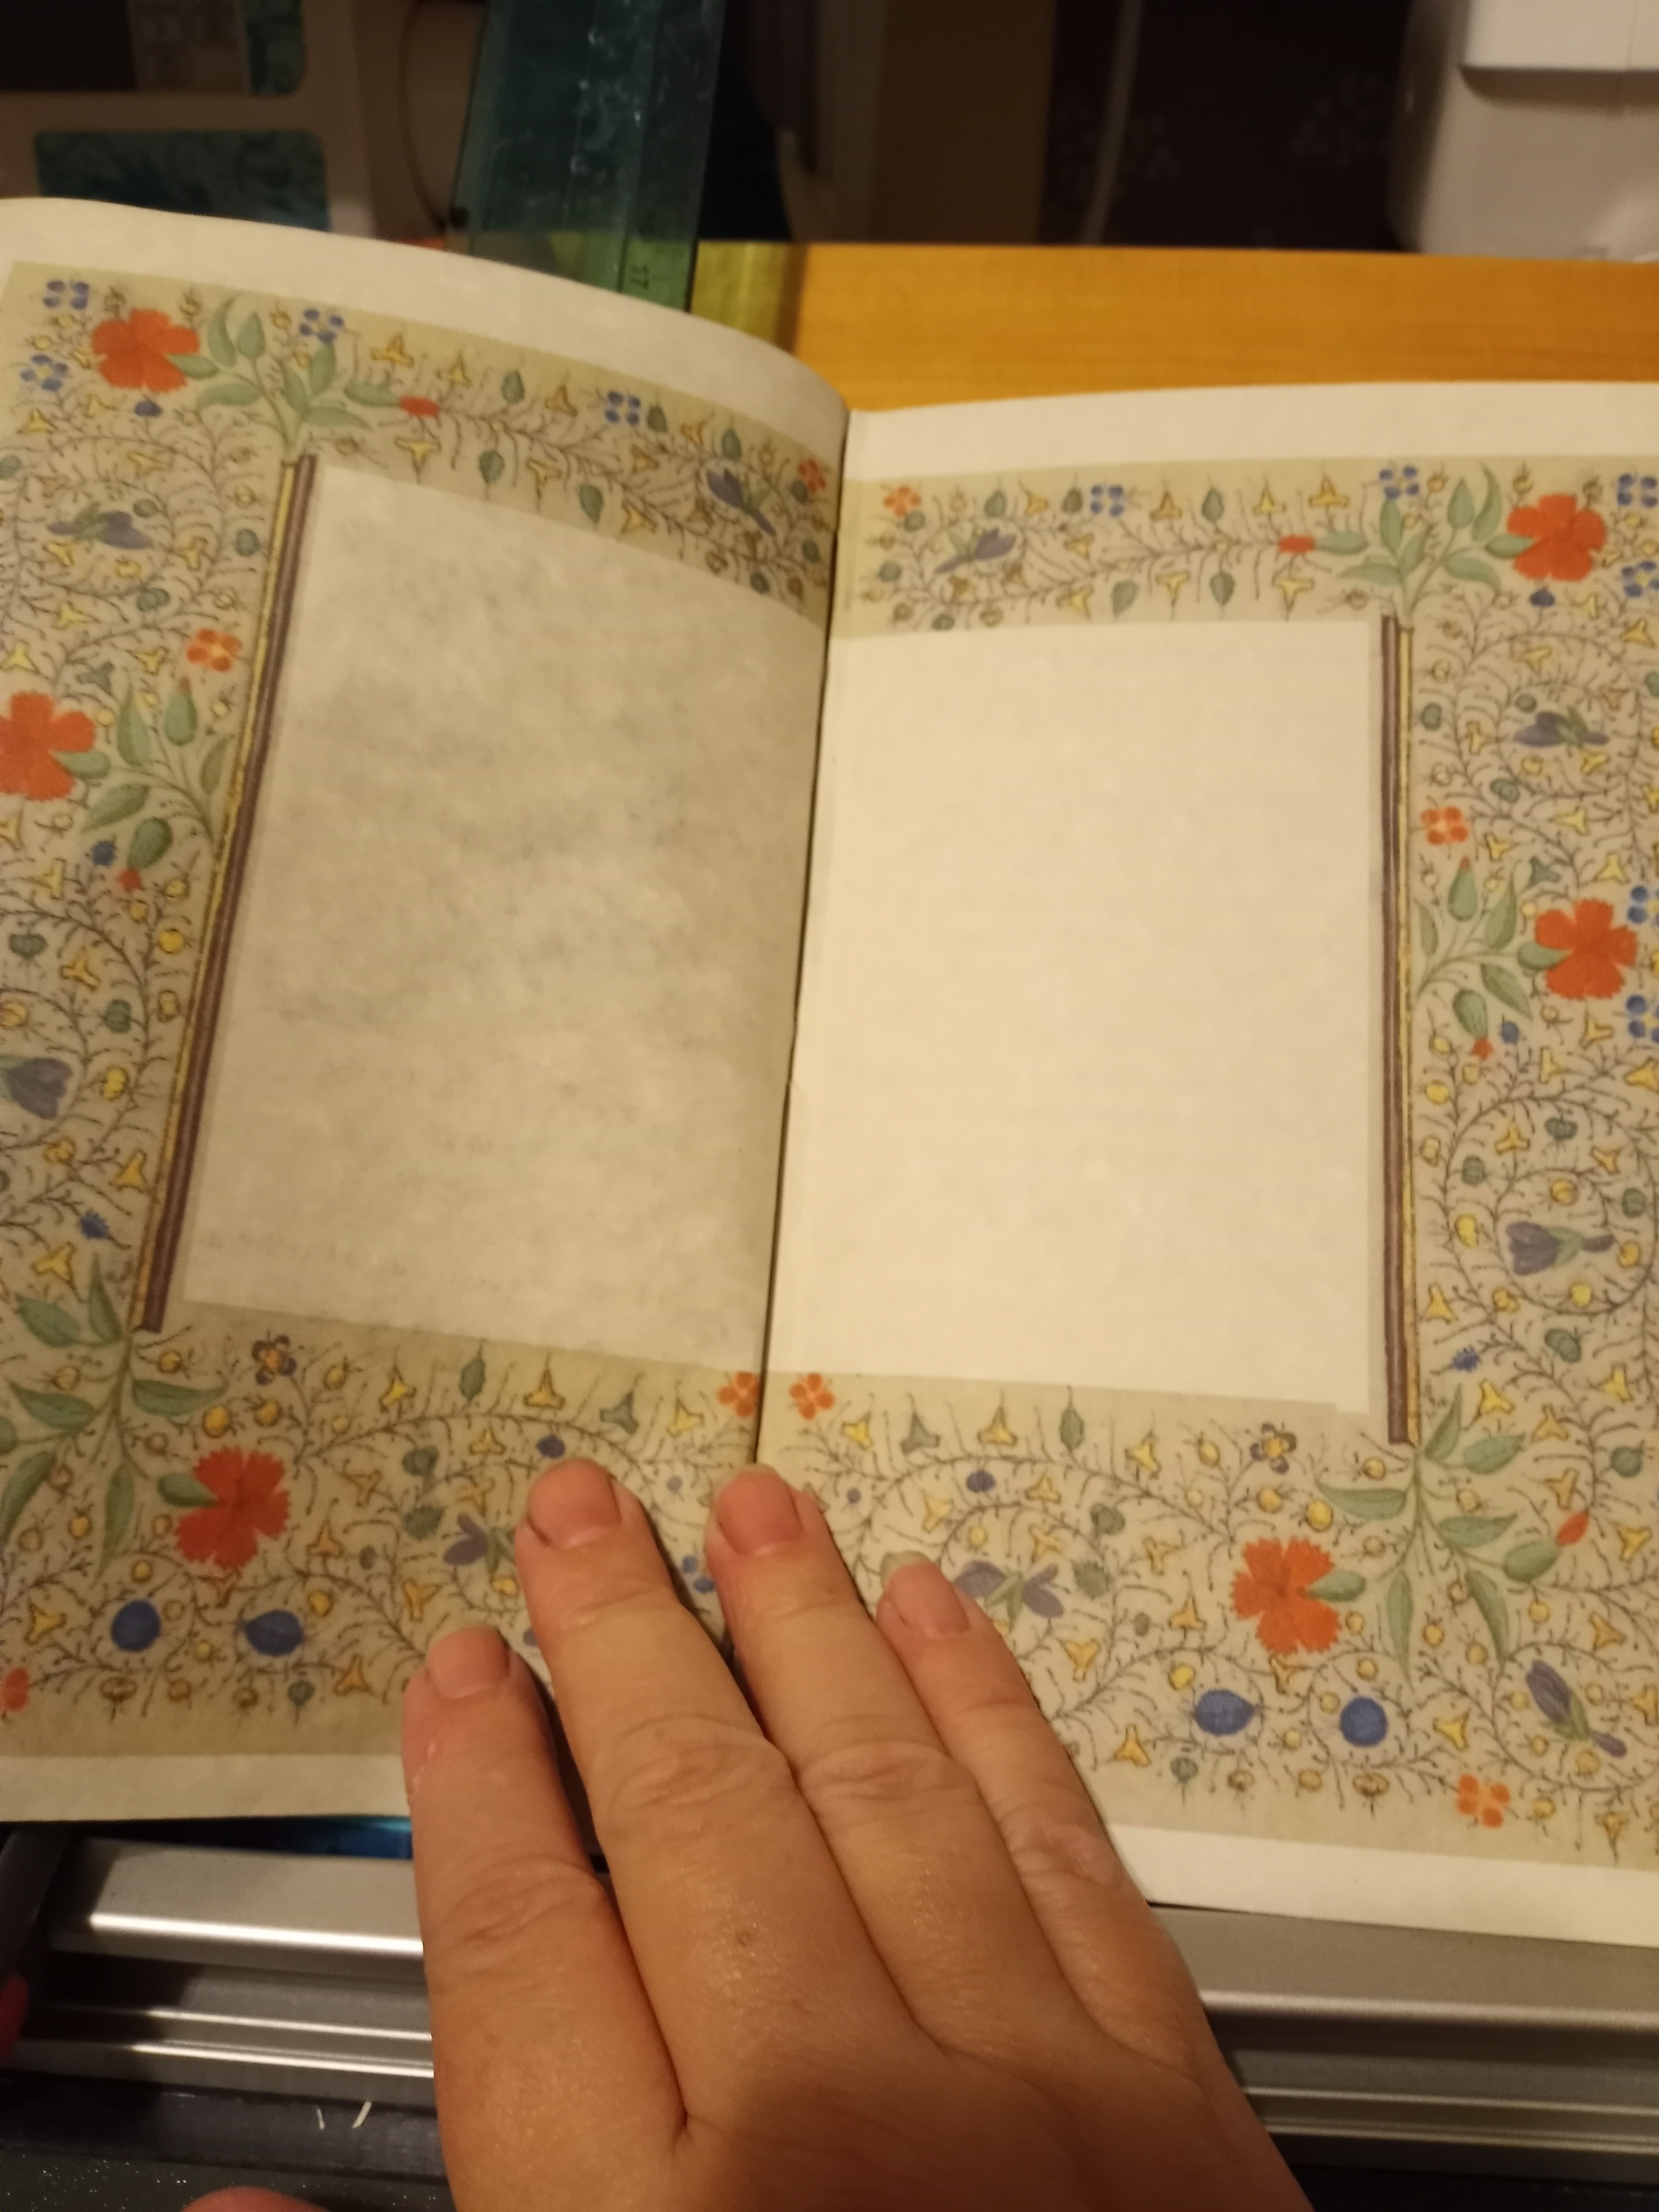
- Printed the pages, front and back.
- Folded the signatures 4 sheets to a signature. 15 signatures in all.
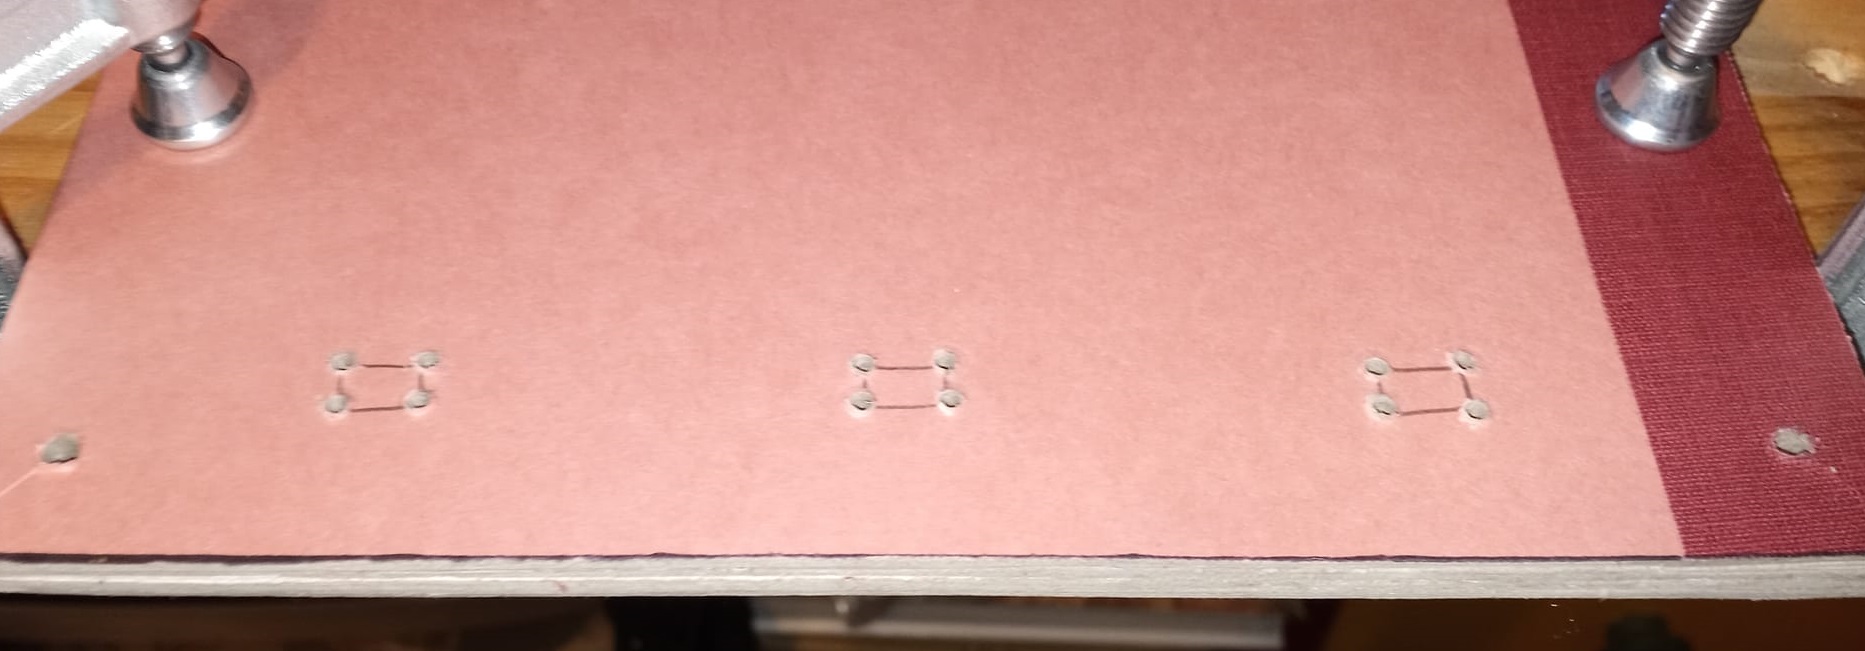
- Created a punching template.
- Punched the stitching holes.
- Set up the sewing frame with 3 thongs.
- Measured and cut the thread and put in on a needle.
- Sewed each signature to the thongs from front to back ending with the first signature on the top of the pile. Tied off the thread and cut off the excess.
The Steps in putting the book together.
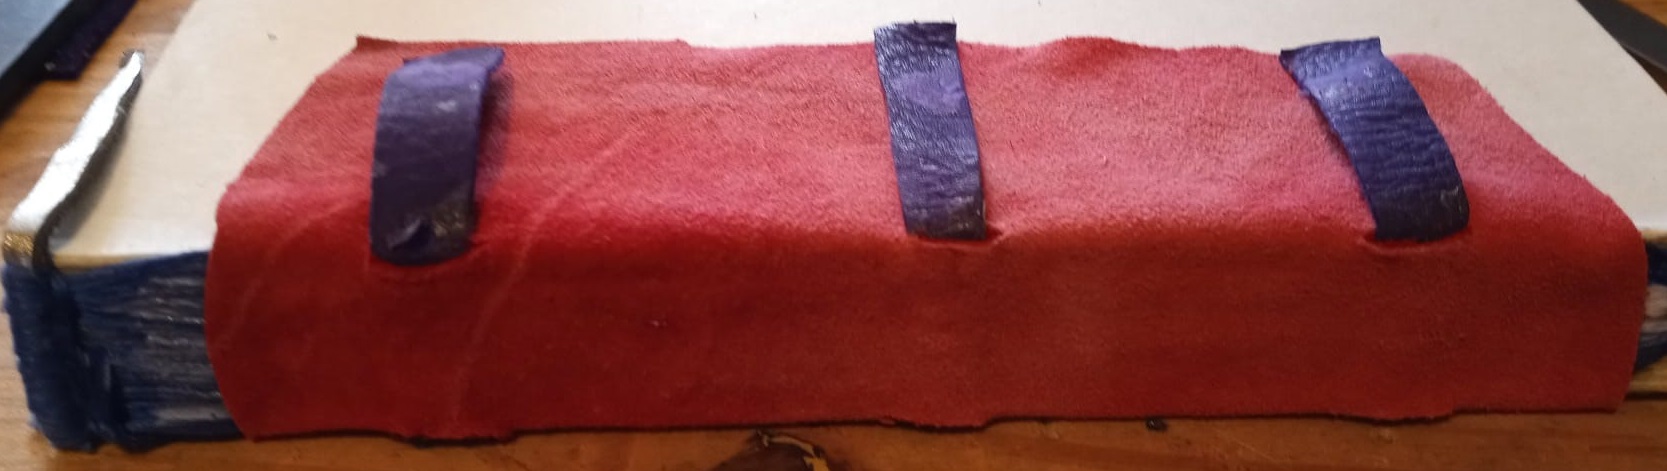
- Put the book spine up into a clamped press and glue on the spine support. Allow to dry.
- Carefully cut slits close to the thongs and pull them through above the spine support.
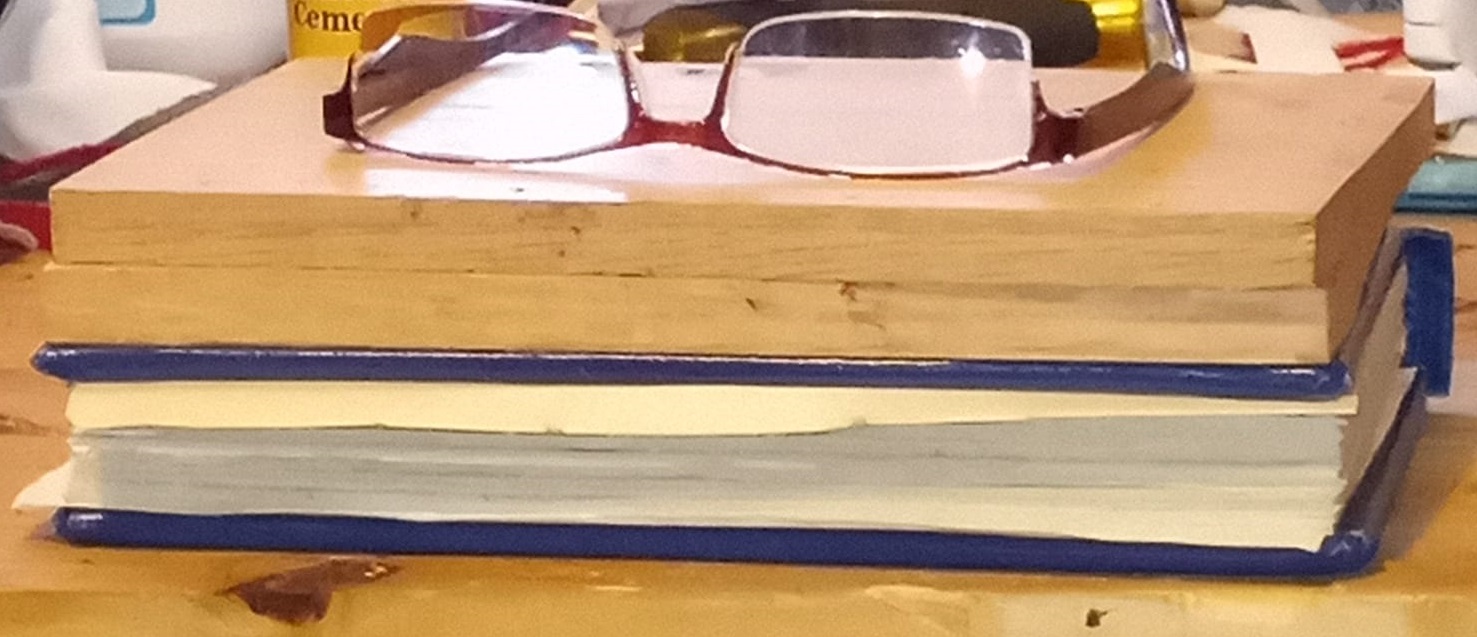
- Cut your book boards to size using the template and mark the holes for the thongs and head bands.
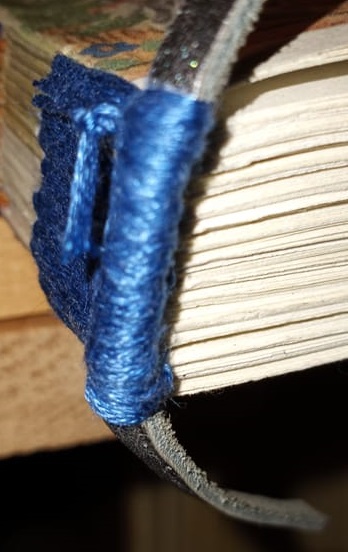
- Cut the holes for the thongs and headbands.
- Put the front and back boards on the book, pull the thongs from outside to the inside and the same for the thongs for the headbands.
- Carefully glue in place on the inside of the bookboards. and allow to dry with wax paper to keep excess glue from sticking to the actual pages.
- Pull the spine support down inside and glue to the inside of the bookboard, covering thongs and headbands.
- Cut the leather cover to size and thin the edges, spine and especially the corners to keep bulk down when folding inside the book.
- Glue the cover along the spine and cut a slit closely on either side of each headband, fold in the excess under the cover but above the endbands for extra support.
- Glue front and back making sure to smooth any accidental folds, air bubbles or wrinkles, allow to dry.
- Fold in each corner and make a mark to remove the excess, making sure that you have enough to cover the corner.
- Glue the corners in place.
- Glue and fold in all outer edges and put wax paper inside the covers to protect the pages. allow to dry.
- Glue in End papers.
Now, I know this is not professional, I am not a professional bookbinder. The closest one can get to what I am is a feral book geek with a digital book hoard on bookbinding. I just wanted to make a pretty book.
Bibliography
Adam, P. (1903). Practical Bookbinding. London: Scott, Greenwood & co.; New York, D. Van Nostrand co.
Cockerell, D. (1904). Notes on Bookbinding. London: Royal Society of Arts/ W.H. Smith & Sons.
Cockerell, D. (1920). Bookbinding, and the care of books; a text-book for bookbinders and librarians. London, New York [etc.] : Sir I. Pitman & sons, ltd.
Department, S. C. (2015). Medieval & Early Modern Manuscripts. New Haven: Yale University Library.
Prideaux, S. T., & Duff, E. G.-1. (1893). A Historical Sketch of Bookbinding. London: Lawrence & Bullen.
Smith, F. R. (1937). Bookbinding. London: Pitman Publishing Corporation.
Uncle, B. (n.d.). Preparing the bookblock for stitching. Retrieved from Lost in the paper Shop: https://lost-im-papierladen.blogspot.com/2013/03/anleitung-zur-herstellung-eines.html
Vaughn, S. J. (1914). Printing and Bookbinding for Schools. Bloomington: Public school pub. co.
Wood, E., Strange, E. F.-1., Uzanne, O. 1.-1., Frykholm, S., Brochner, G., Khnopff, F. 1.-1., & Mourey, G. 1.-1. (1900). Modern book-bindings & their designers. New York and London: John Lane.
Zaehnsdorf, J. W.-1., CU-BANC, Z. (., & Allsopp, F. W. (1880). The Art of Bookbinding. London: G. Bell & sons.
